How to turn a character image into a 3D model
Prepare a character image in Plnty, generate a 3D model and inspect its silhouette, surfaces and hidden details before deciding what to refine.

In this article
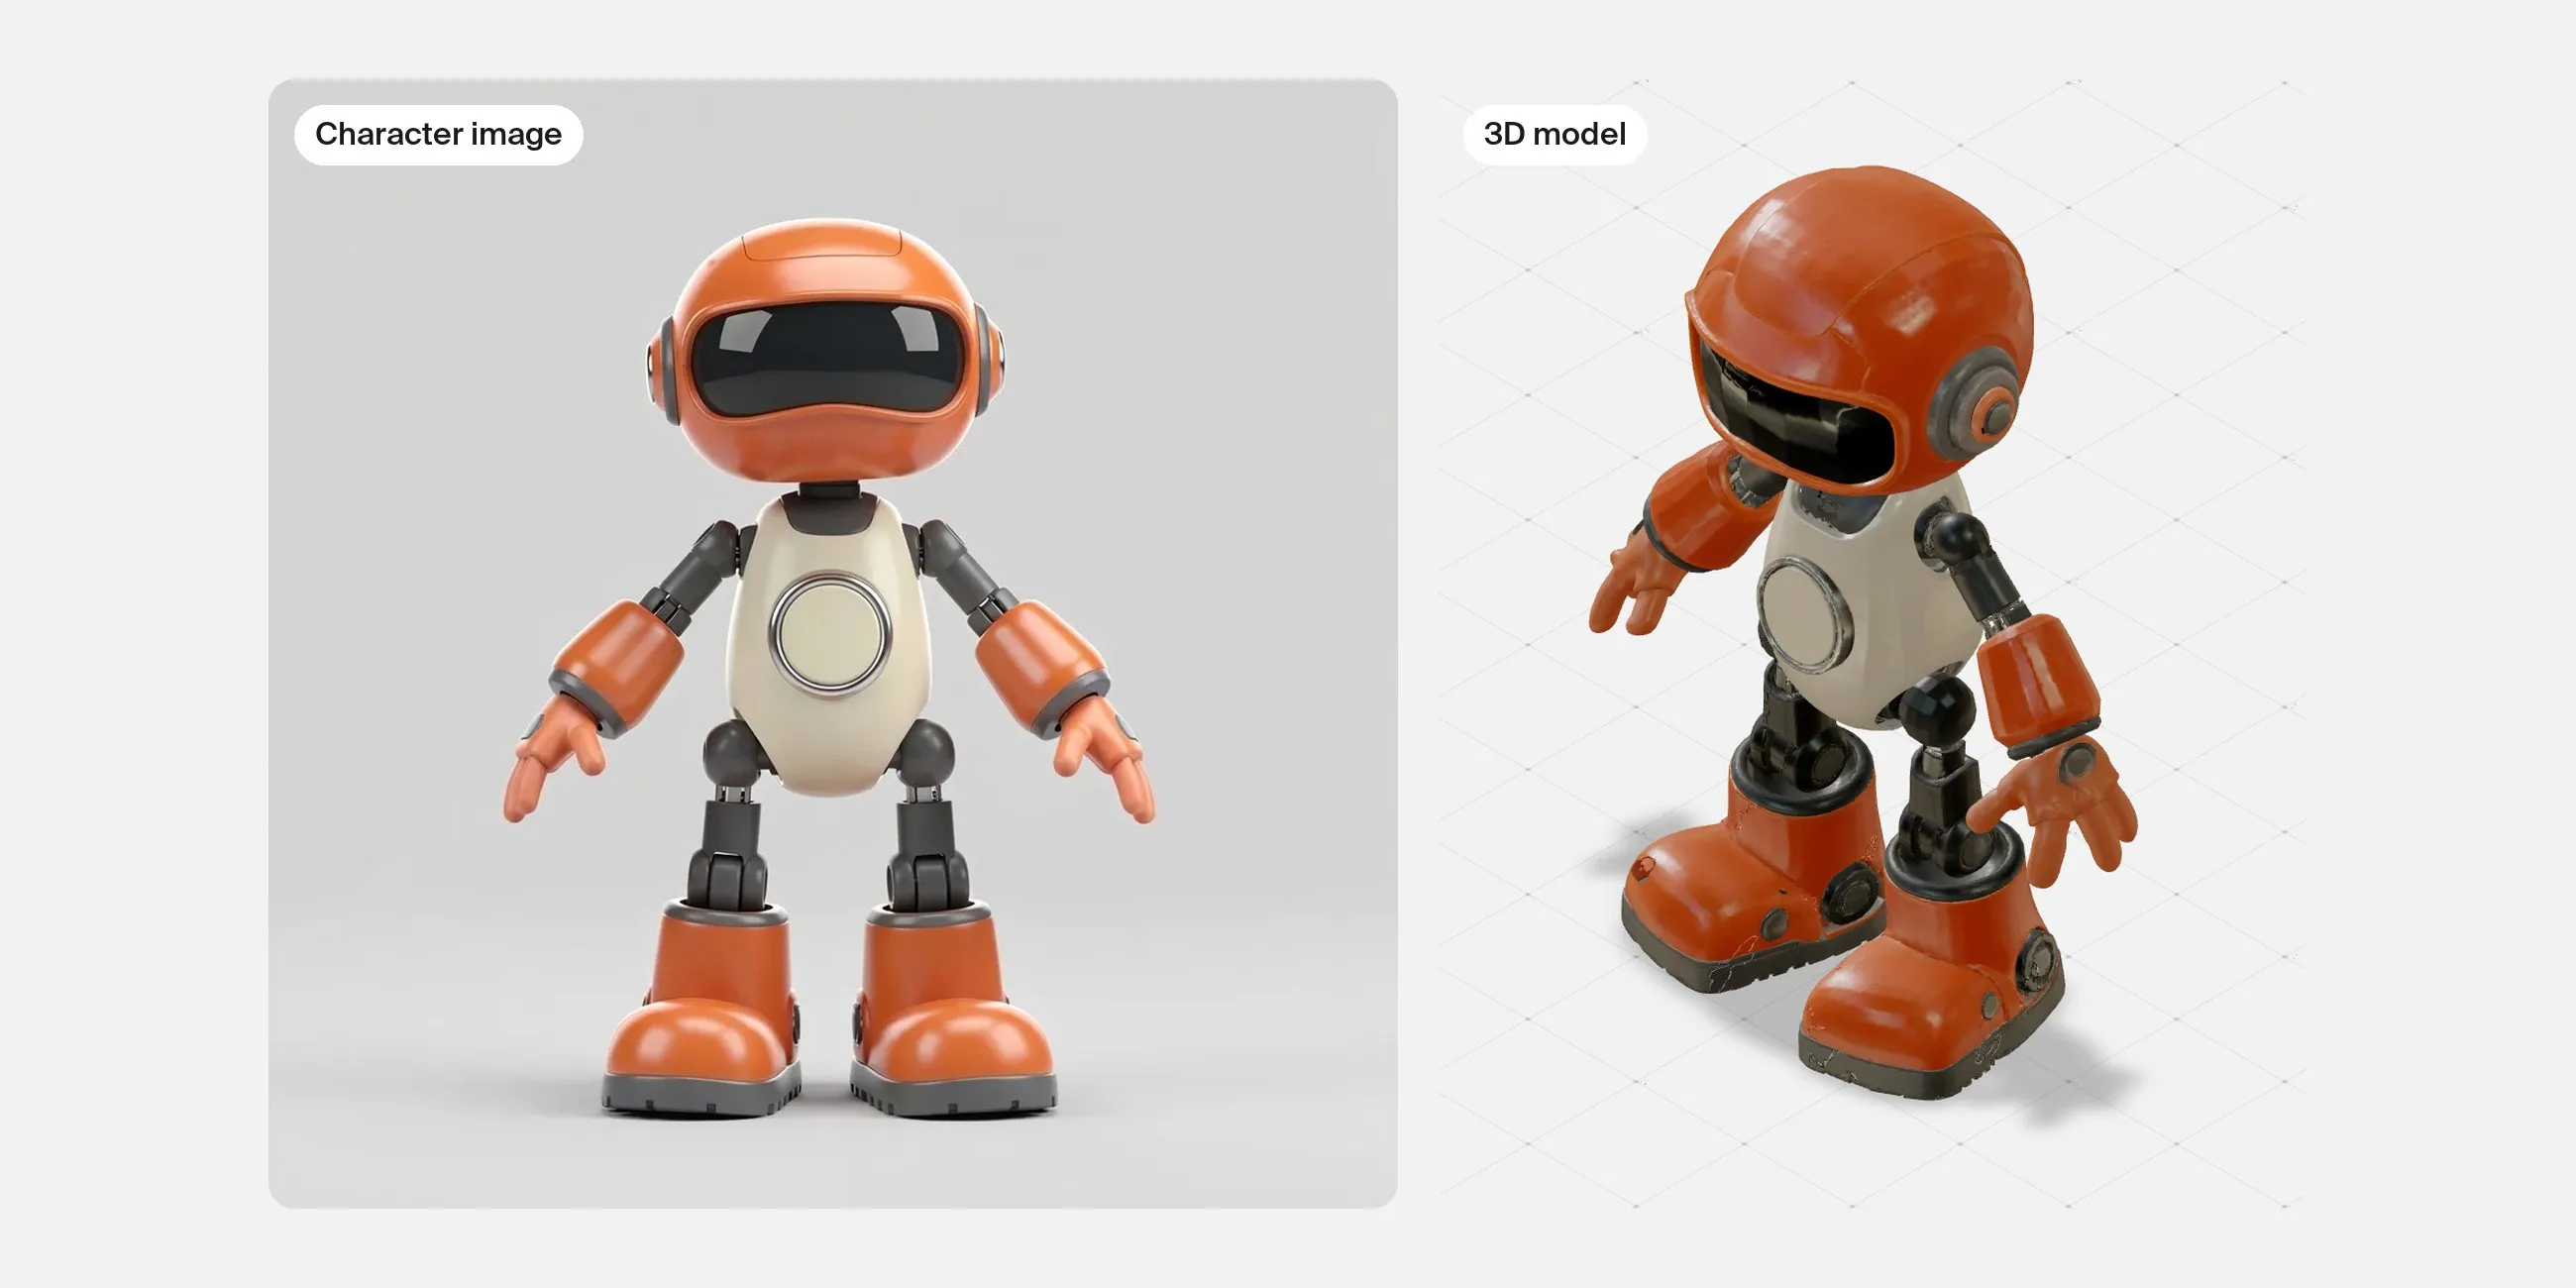
To turn a character image into a 3D model, start with a clear image of one complete character, isolate it from the background, and generate a model from that image. Then rotate the result and compare its shape and surface details with your original. The useful outcome is a model you can inspect and develop further, rather than a single convincing render.
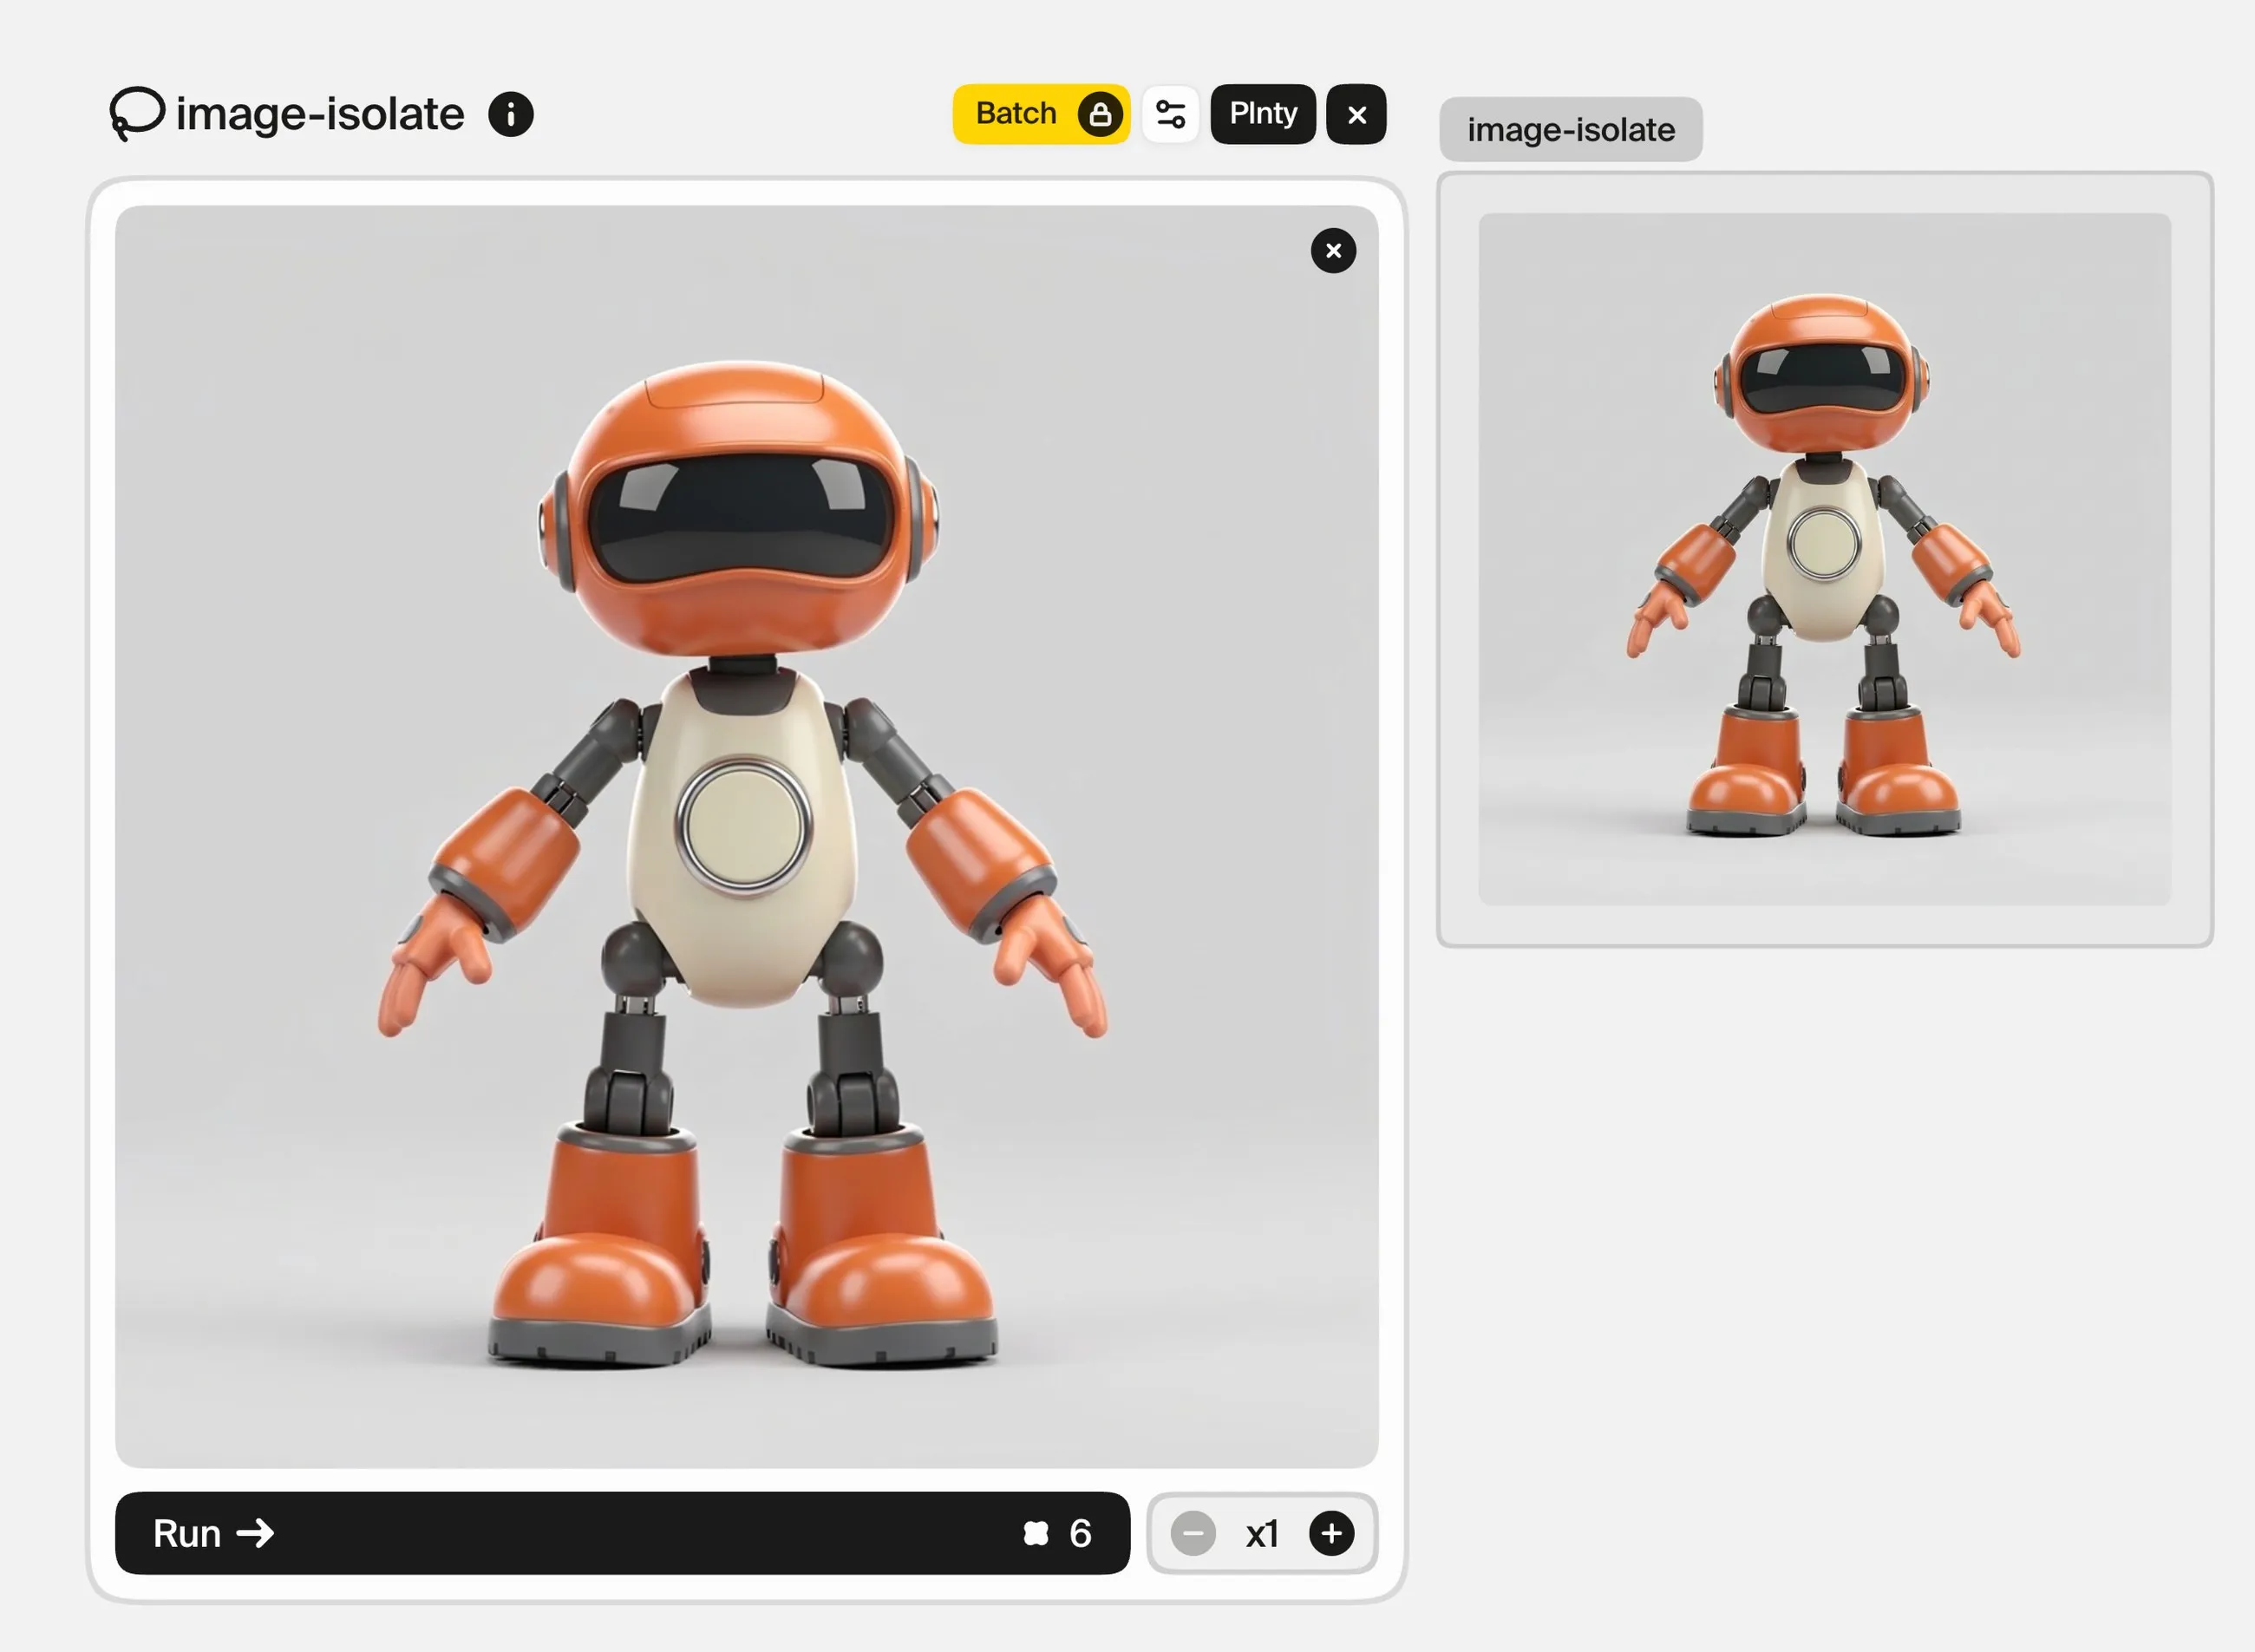
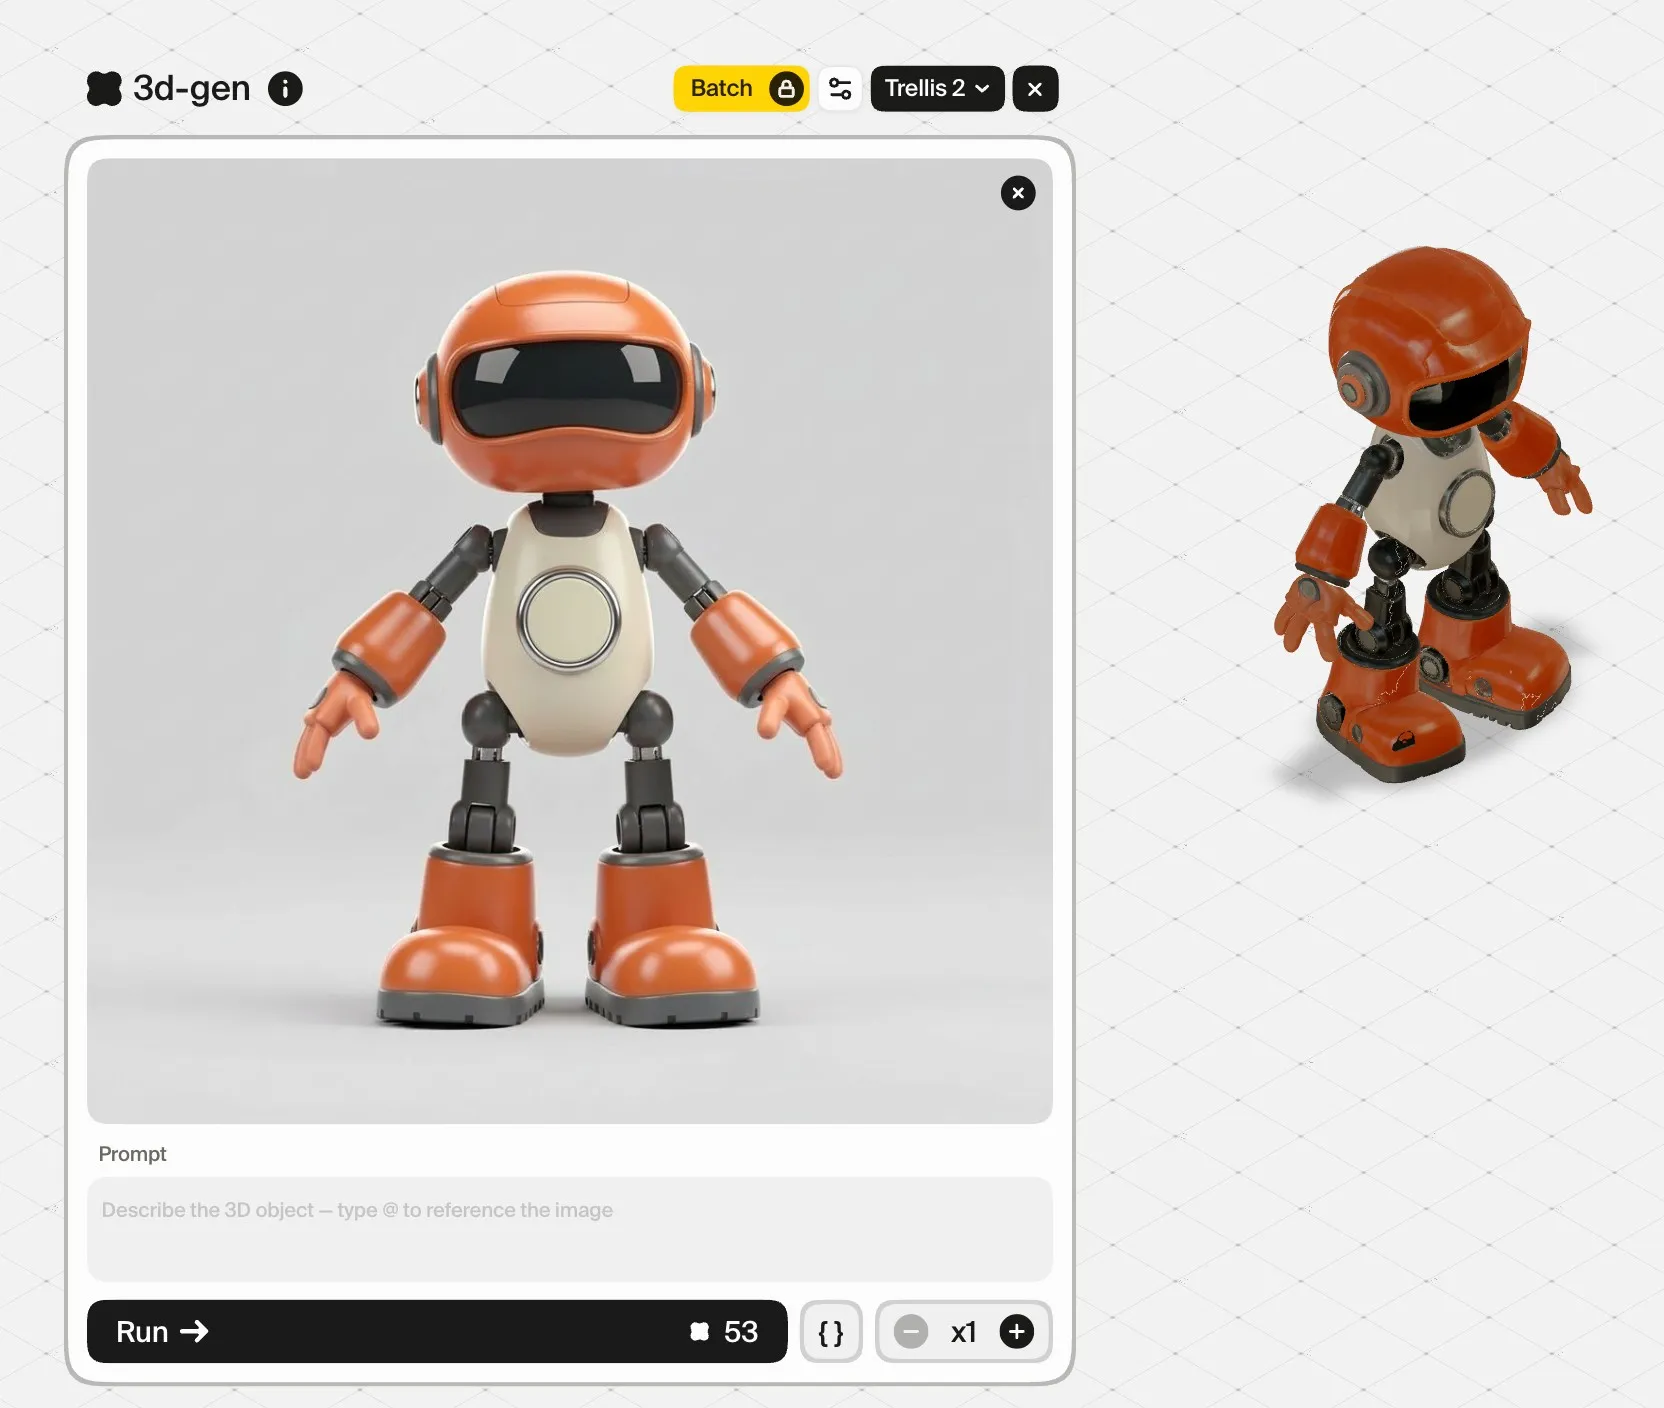
In Plnty, image-isolate prepares the source image and 3d-gen generates the model. Keep the original visible while you work so that your character's silhouette, proportions and personality remain the reference for your decisions.
On this page
Choose a character whose shape is easy to understand
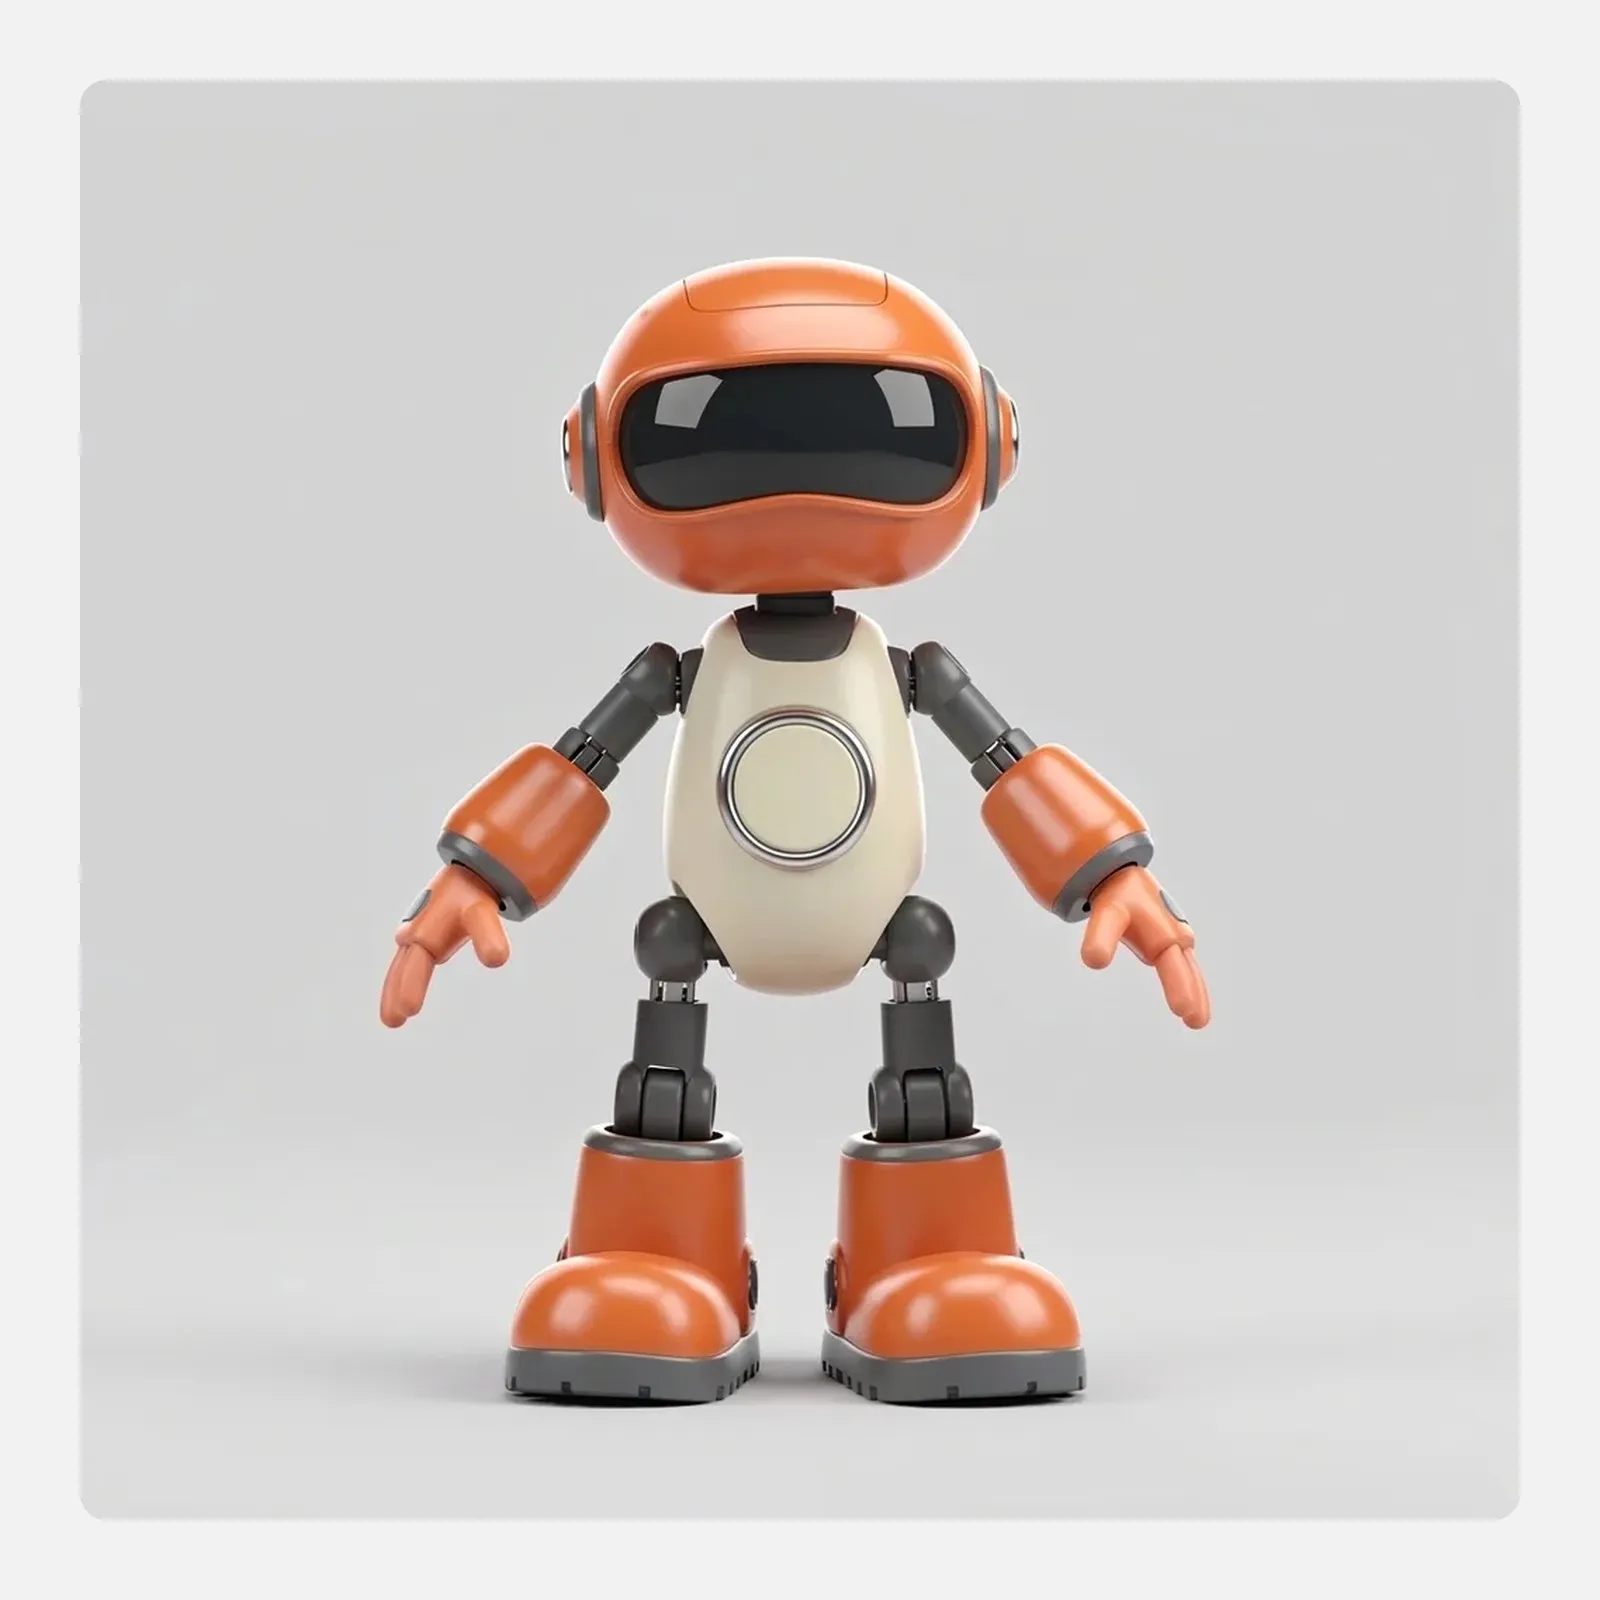
For a first project, choose a stylized character with a readable body and simple forms. A small robot with a rounded head, solid limbs and large feet is a useful starting brief. It gives you specific features to compare after generation without making the test depend on individual strands of hair or thin accessories.
Use an image that shows the complete body. Check that hands and feet are visible and that the arms are distinguishable from the torso. The design can still be expressive: proportions, color blocking and the face can carry its personality.
Decide which features make it your character before generating anything. For the robot example, those might be a wide visor, short torso, circular chest panel and oversized boots. Write these down as your review criteria.
Prepare the source in Plnty
Place the chosen image on the canvas and use image-isolate when you need a cleaner input. The tool centers and prepares the subject on a white background while retaining its angle and proportions.
Inspect this prepared image before moving on. Make sure it has not lost a hand, cropped a foot or changed a defining feature. Keep both the original and prepared versions available for comparison.
Image isolation does not change the character's pose. If an arm crosses the chest or a prop hides part of the body, revise the source artwork first. A cleaner background cannot reveal a body part that was never visible.
Generate the model from the approved image
Use 3d-gen with the prepared character image. Select the available generator appropriate to your test, then inspect the result before spending time on presentation.
The image carries the character design. When you want a different helmet, simpler hands or wider feet, make that decision in the source image rather than expecting the 3D step to redesign it predictably.
Keep a note of the input image and generator used for each version. If you compare outputs from different generators, use the same source so that you can understand what changed.
Review the model from several sides
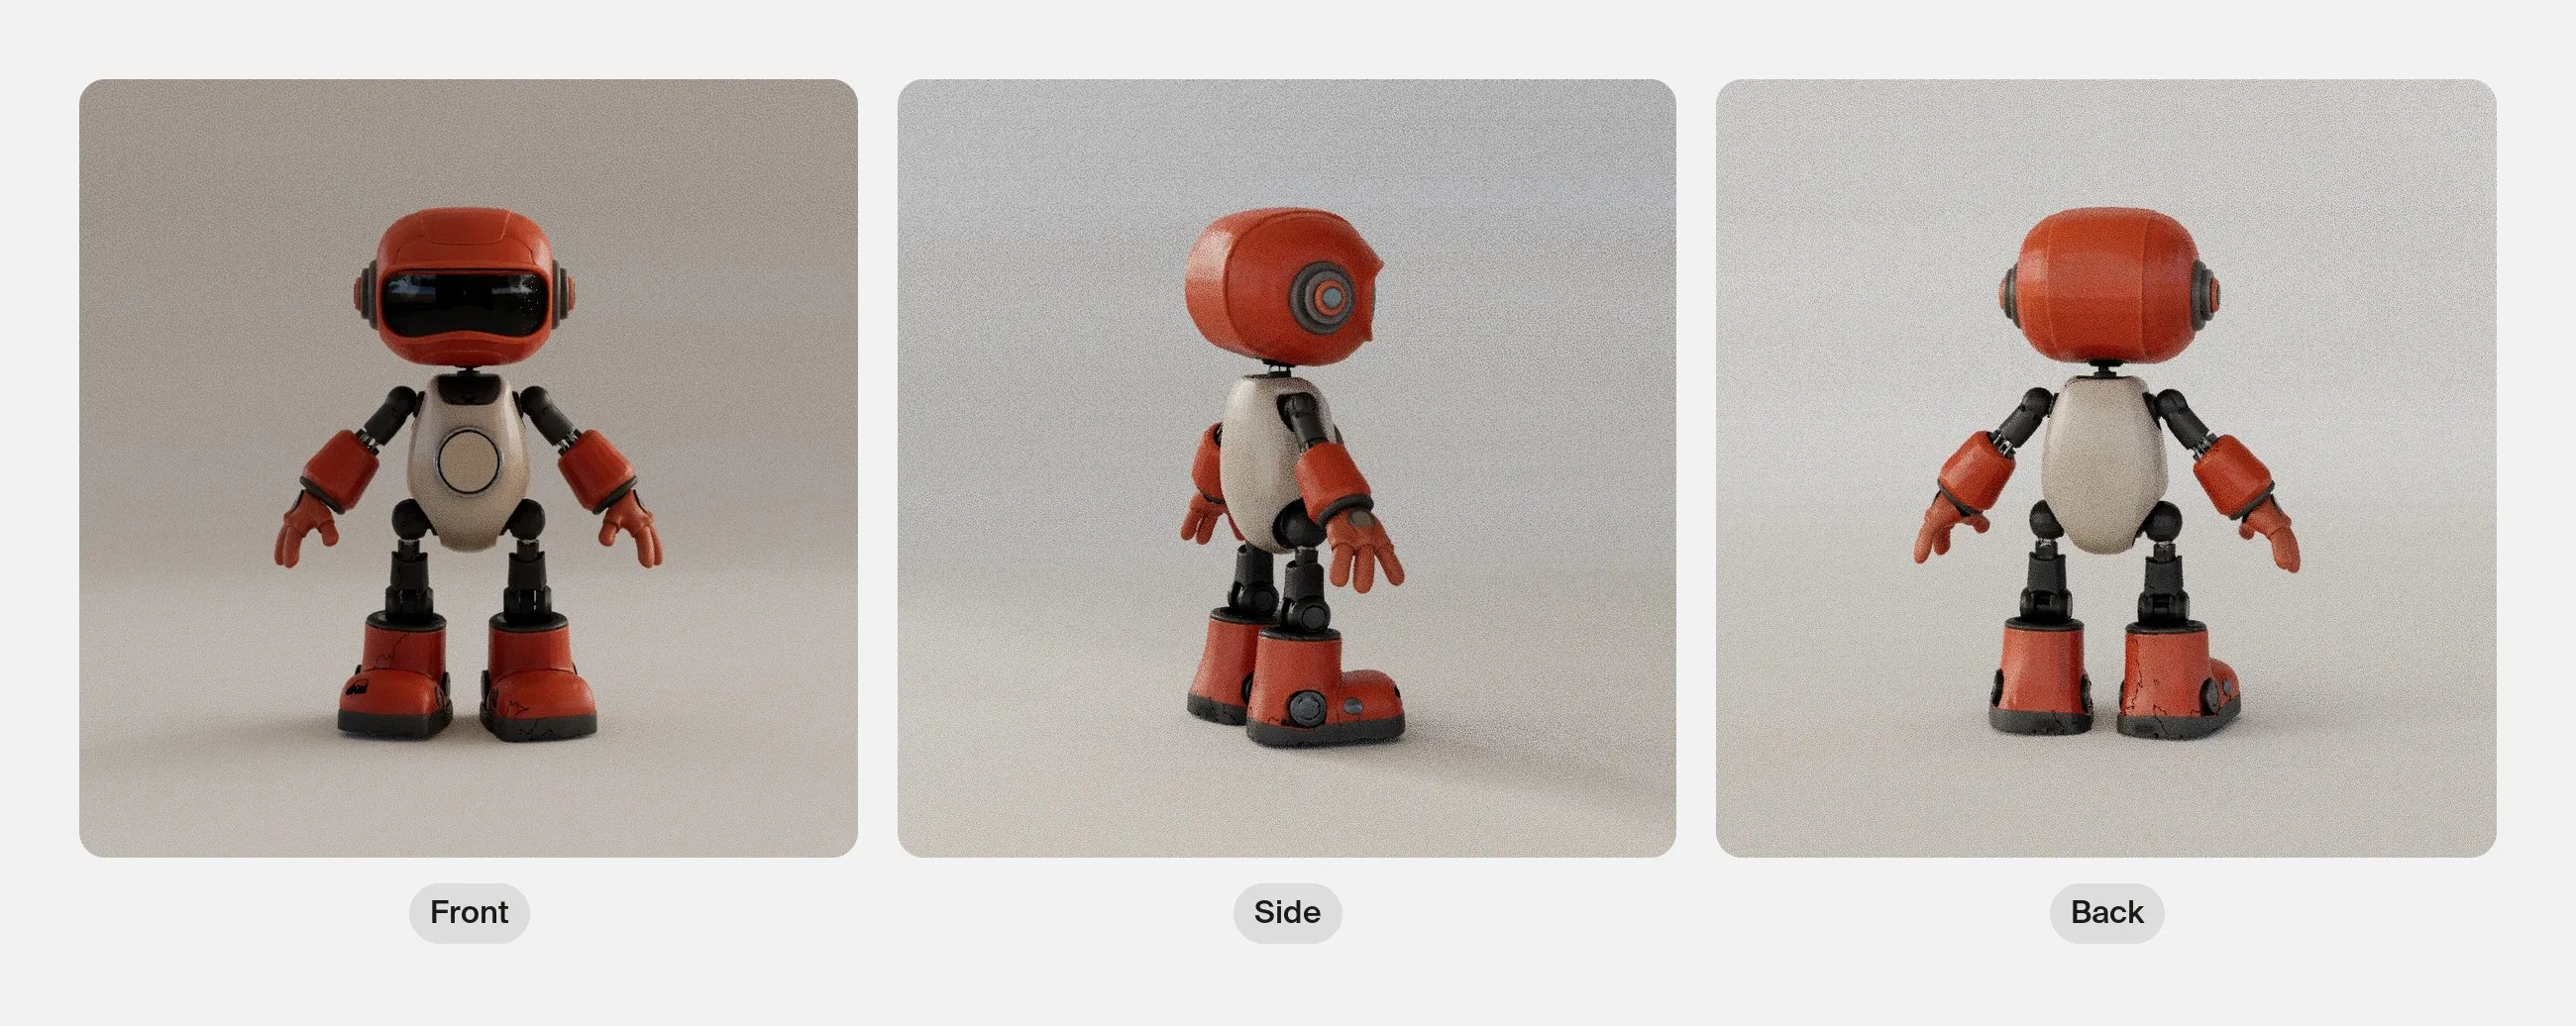
Start with the front view, then rotate through the sides and back. A model can resemble the input from one angle while revealing awkward shapes elsewhere.
| Area | What to inspect | What the review tells you |
|---|---|---|
| Silhouette | Head width, torso length and limb proportions | Whether the character still reads as the same design |
| Hands and feet | Shape, separation and attachment | Whether small forms need a cleaner source or further modeling |
| Arm and leg gaps | Visible space between neighboring parts | Whether overlapping forms have become joined |
| Back and hidden areas | New surfaces and design decisions | What the generator supplied beyond the visible reference |
| Surface details | Face, color divisions and decorative elements | Whether the texture reinforces the intended character |
For a single-view input, treat the back as something to assess, not an exact reconstruction of an unseen design. If the back matters to the character, prepare a clear design reference for later refinement.
Improve the input before repeating the conversion
Use the review to choose the next change. If hands are hard to distinguish, simplify their outline in the source. If the character feels top-heavy, adjust its proportions deliberately. If an accessory has become part of the torso, test a version without it.
Change one major variable at a time. Keep the previous source and model so that you can tell whether the revision helped. The goal is to develop a usable character direction, not to accumulate versions without a decision.
Make a useful handoff
Save the source image and selected model together. Record the features you approved and any remaining problems. A short rotation capture is helpful because it shows the model from more than one flattering angle.
For a game project, evaluate the model against the next production task. A prototype for visual exploration has different requirements from an animated player character. Check geometry, scale, textures and any rigging requirements in the intended production workflow before calling the asset game-ready.
Transcript
This clip has no sound. The robot model turns once, a full 360 degrees over five seconds, seen from slightly above.
Common questions
Can a drawing be a starting point for a 3D character?
A character image can be the source for this workflow. Choose a drawing or render that communicates the complete shape clearly, then judge the resulting model against that image. A more detailed drawing is not automatically a better input.
Does image-isolate generate the model?
No. It prepares the image. The model-generation step happens in 3d-gen.
Does the result come rigged and ready for a game?
This workflow establishes image-to-model generation. Rigging, animation, topology requirements and engine integration need their own checks. Do not assume that a model which looks good in a preview satisfies all of them.
What should I show when presenting the result?
Show the actual input, the actual generated model and a rotation of that model. Separately generated images of different angles are concept views, not proof of a working mesh.
Sources and methodology
The pictures and the clip in this guide were made in Plnty on 1 October 2026: the character with image-gen, the model with Trellis 2 in 3d-gen, the renders with the model’s Render action and the turn with 3d-animator.
About the author

Try it in Plnty
Start with one character image in Plnty, generate a model and inspect it from every side before choosing what to refine.