Restyle a render. Keep the detail.
Take a finished render through three visual directions, close-ups, an upscale, and motion.

In this article
Start with a finished render and a style reference. Compare each transfer with the original before developing close-ups, upscaling, or motion. The written steps below accompany the video lesson.
On this page
Before you begin
Have a render or image you want to develop, plus a few style references. This lesson begins with a Cinema 4D / Redshift landscape, but the core exercise is about working from your own image.
You’ll explore how references change its visual language, compare which details survive, and develop a direction for close-ups and motion.
01. Load your render and references
Place the source render and reference images on the board. Give each reference a clear role: one might establish color, another texture or atmosphere.
02. Set up the style transfer
Use the subject and style canvases in Styler. The lesson demonstrates style transfer and object mixer nodes, with references called into the prompt. Keep the first test simple so you can see what each reference changes.
03. Compare the directions
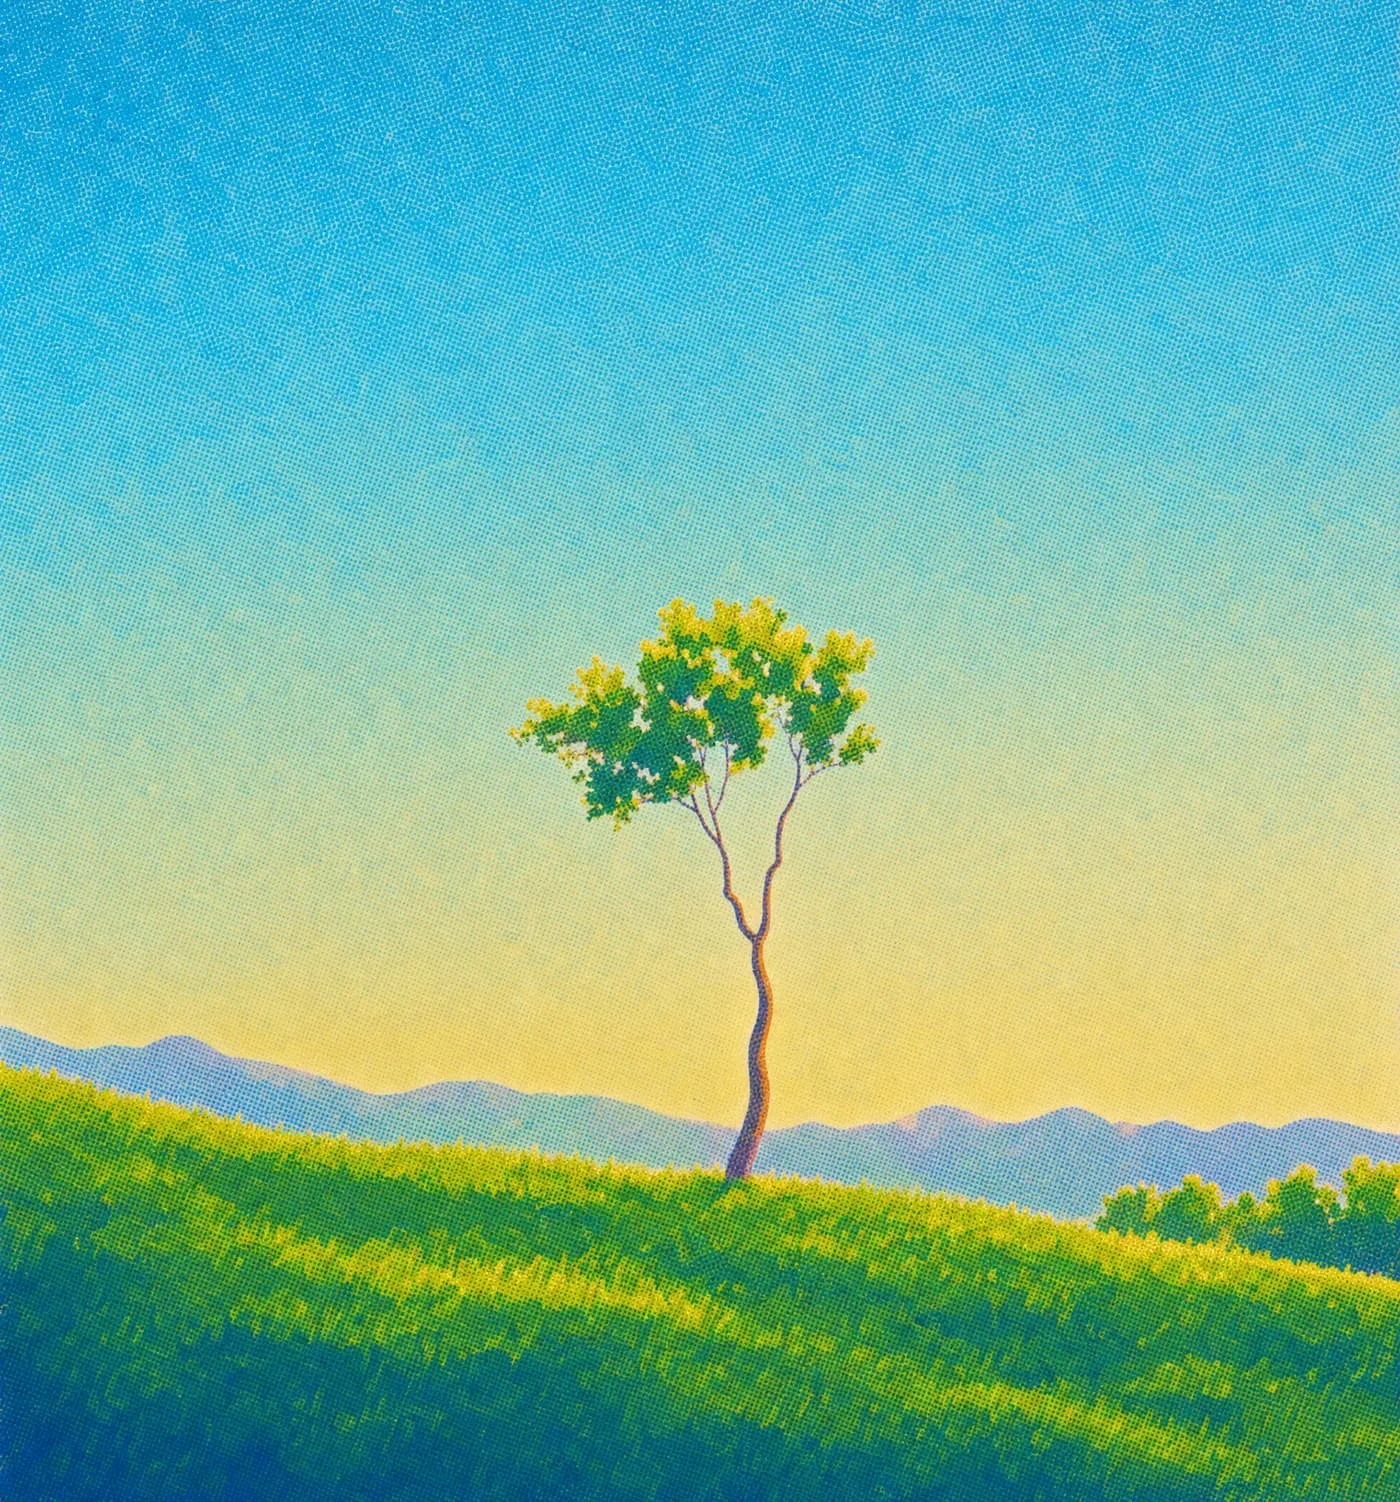
Run the transfers and look at the details you need to retain. In this example, branch shapes and fine tree detail are the test of whether a direction is useful.
Pause after each transfer and compare it with your original render. An attractive result is only useful if it preserves what matters to the project.
04. Develop the selected frame
Explore close-ups, upscale the image, and try a short motion treatment. Review each step against the direction you chose.
Decide what should stay the same before you change the style.
What should I prepare before starting?
Bring a render or image you want to develop and a small set of style references. Decide which shapes, details, and compositional choices should remain consistent.
Sources and methodology
This article summarizes the linked PLNTY material. The landscape images, where shown, are one example rather than a before-and-after comparison.
About the author


