Move the light on any picture or clip
Relight moves the light on a picture or a clip you already have. A depth model runs in your browser and reads the picture as a surface, so each light you drag shades it live on your own machine. When the light looks right, Run renders it: a picture on GPT Image 2.5 or Nano Banana Pro, a clip on H3 Max Relight.
01 / Scenery
Scenes worth lighting
Every still in this article comes from one character. She is a Plnty picture too: a character sheet, a close-up beside a full-length shot on a white background, made with image-gen on GPT Image 2 in two plain-language edits. The first pushed an earlier portrait into an avant-garde look, with sculptural lips, long chrome nails and geometric metallic hair, and asked it to keep her identity, pose, outfit and the split layout. The second read "change the hair to pink with spikes and metal elements". A sheet like this gives every later step the face and the whole outfit to work from.
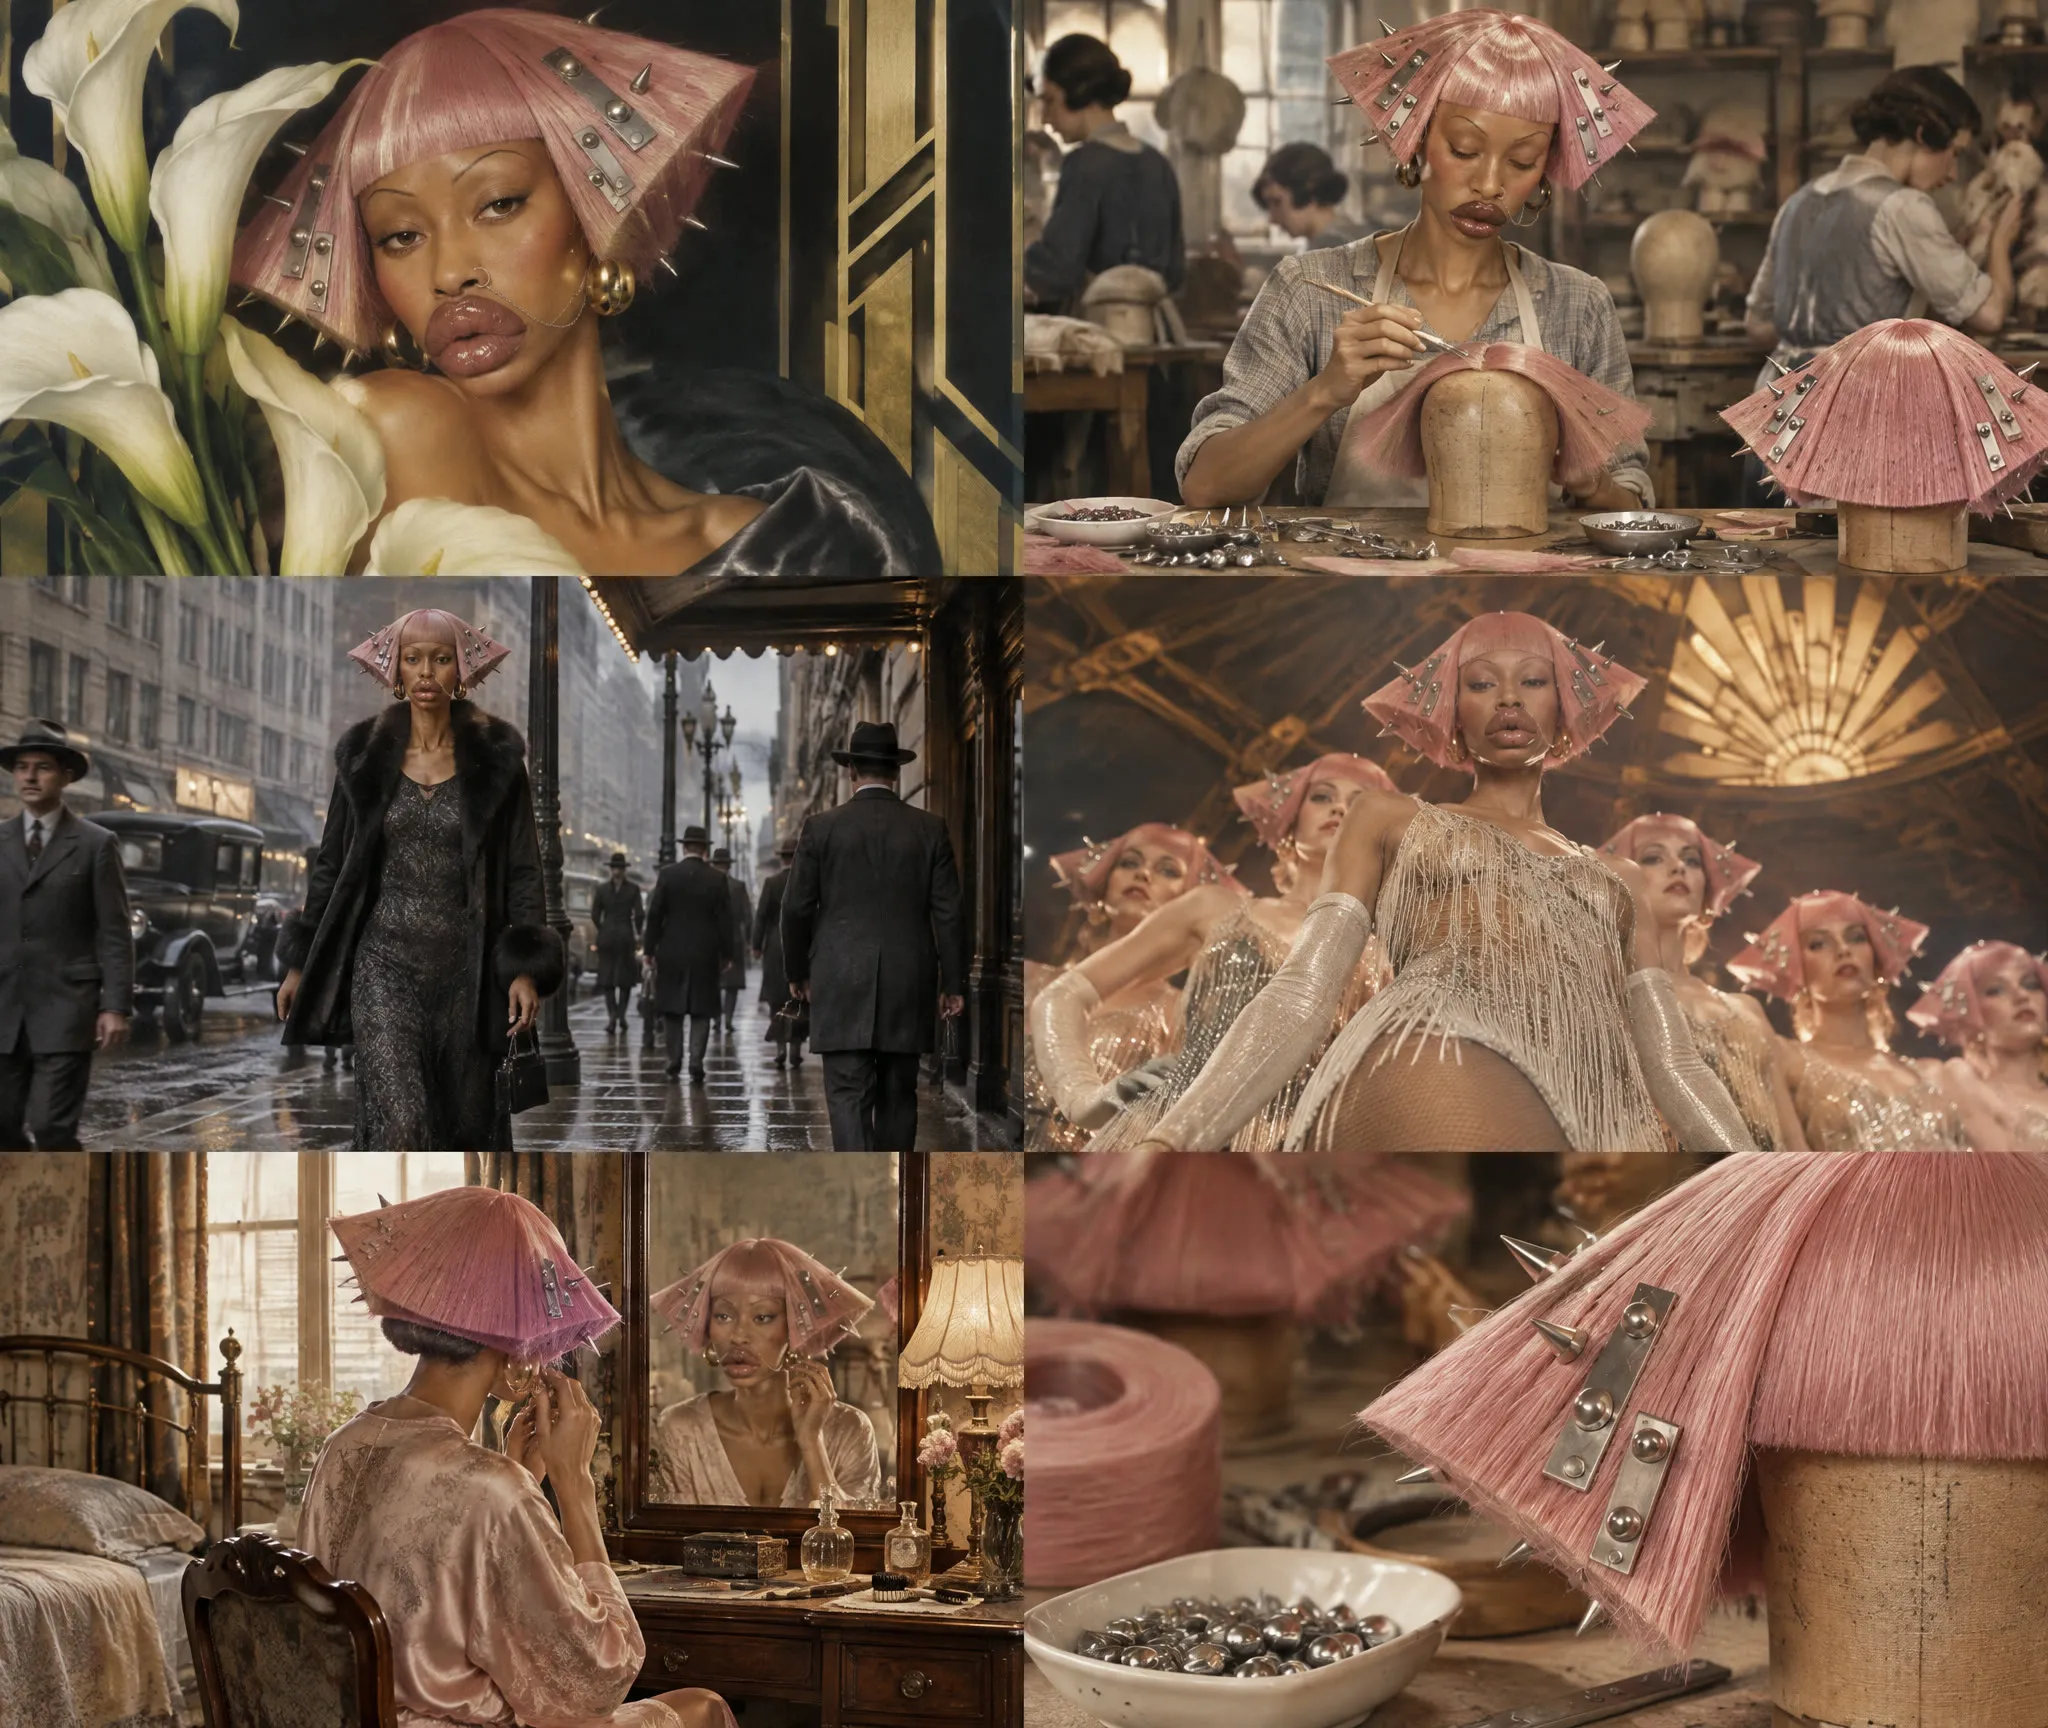
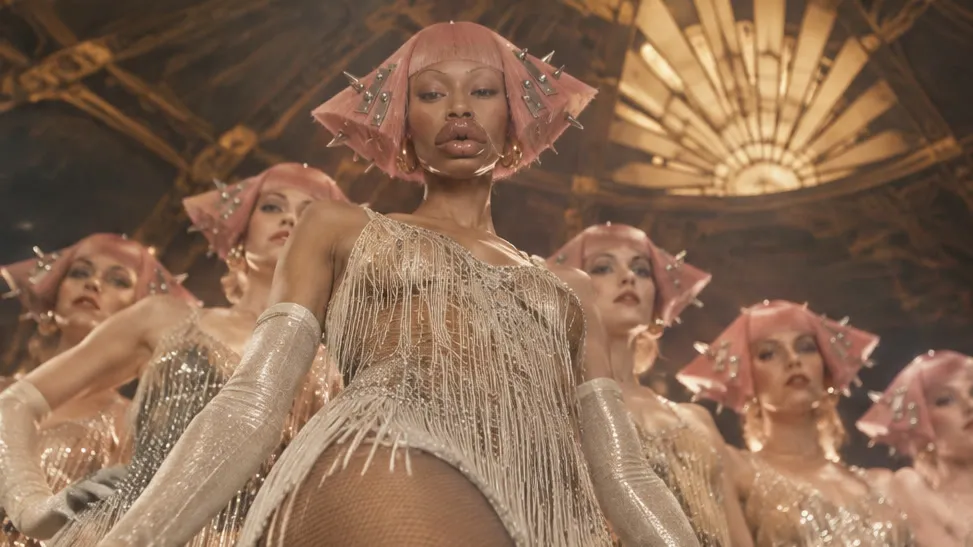
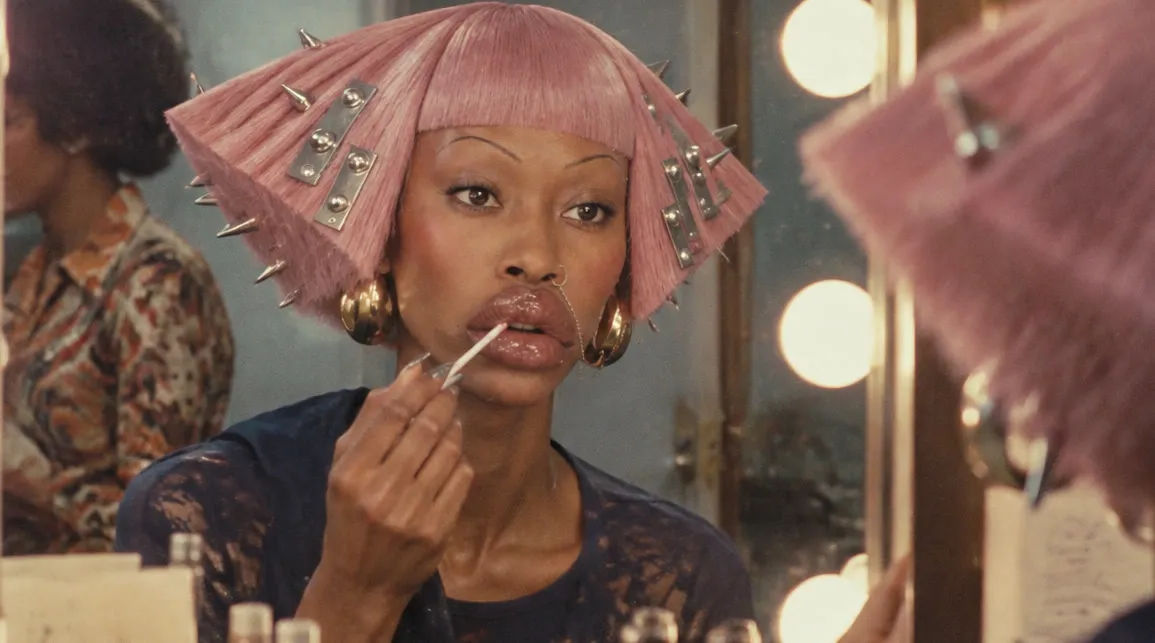
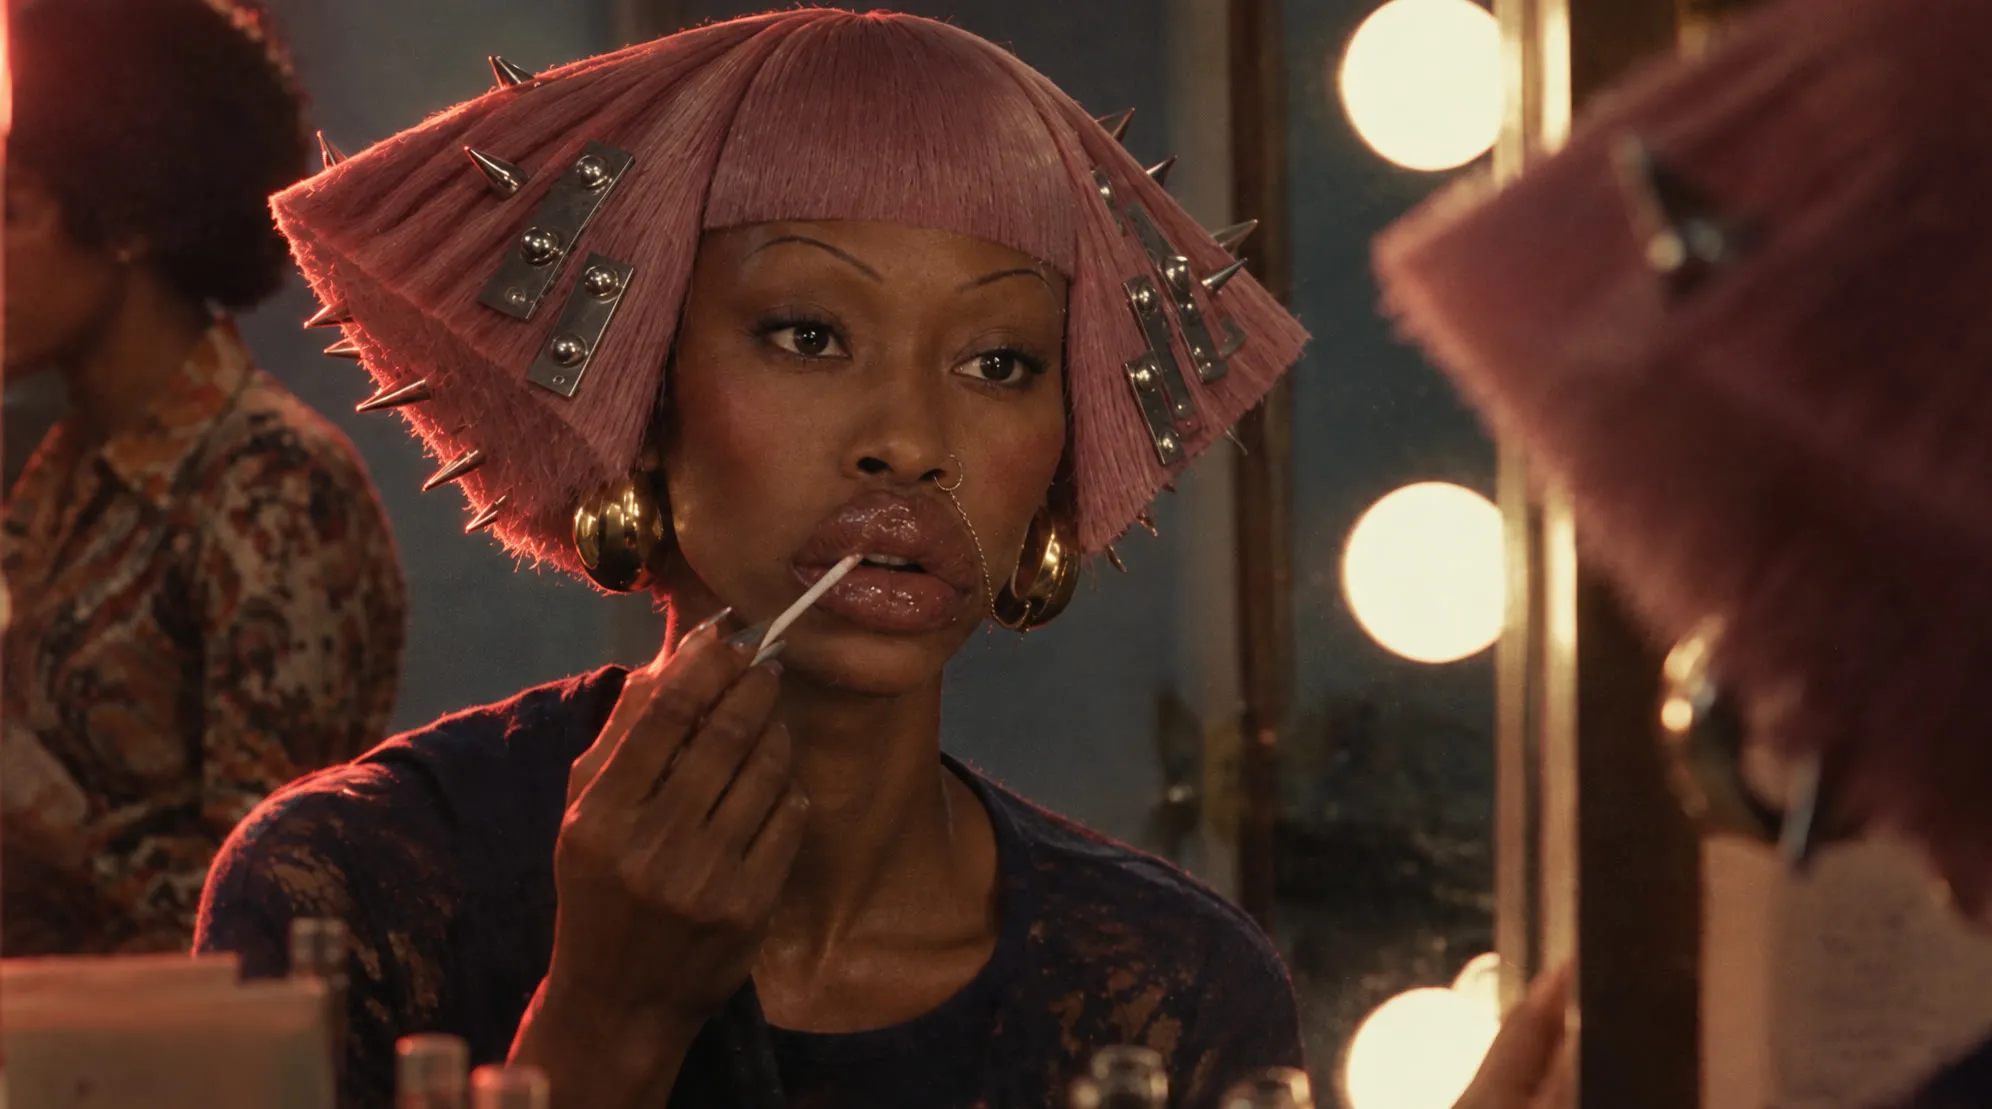
Time Machine found the scenes. It takes a picture and a year and returns up to six pictures as that year might have made them, each a different kind of picture and a different scene. Given the sheet and 1927, it painted her among calla lilies, put her in a wig workshop and on a wet street, and set her at the head of a line of dancers under a gilded dome. A second run, at 1970, gave a dressing room mirror among its six. The portrait, the dancers and the dressing room are the scenes relit below.
02 / Control
A depth model runs in your browser
A picture has no geometry. To move its light you need to know which way each surface faces, the cheek turned toward the lamp and the shoulder turned away, and how far each part stands from the camera. Relight gets both from Depth Anything V2, an open depth model, which it runs inside your browser on your own graphics card through WebGPU, with WebAssembly where WebGPU is not available. The model reads the picture once and returns a depth map, refined against the picture so its edges keep to the subject's outline. Relight turns the map's slopes into the direction every pixel faces and keeps the depth itself for shadows.
From there each drag is a single shading pass in WebGL, on your machine. A soft light wraps further round a form, nearer shapes cast shadows across whatever stands behind them, and a light set behind the subject draws a rim on the edges that face it. The depth also tells Relight what is near and what is far, so the background can keep its own light while the subject takes the new one. Nothing is uploaded and nothing is charged while you drag. You can try a light from every side of the frame in less time than one render takes, and spend credits only on the light you keep.
Why the preview goes with the render
The preview has a second reader. Words describe light badly: "from the right" can mean the subject's right or the frame's, and in our tests one model read it as the subject's. So Run sends the preview along with the picture, described to the model as a rough sketch of the lighting plan, and names each light against the edges of the frame. In Plnty's relight tests, five editing models put the light on the asked side in 30 of 30 renders with the preview attached, against 23 of 30 from words alone.
Light it like a set
Start with one light and drag it slowly from one edge of the frame to the other, watching which side of the face falls into shadow. Stop where the shadow shapes the face the way you want, then add a second light behind the subject and move it until a rim separates the figure from the background. A third light is for colour, or for a source inside the scene such as a lamp or a stage light. Keep the fill low when the shadows should read, and set the lights against each other: warm against cool, or a hard key against a soft rim.
Expert view
The unique thing about Relight is that we are using the browser's capabilities to run AI models in the browser to visualise the final results. This allows control over lighting that is almost equivalent to working with a CGI render engine in real time. The tool literally delivers top quality results, considering different tricks we made while building the tool, which all rely on my experience with CGI lighting techniques.
03 / Render
From the preview to the render
The preview is a plan for the light, rough on purpose. It shows where each light comes from, its colour and which side falls into shadow, and leaves everything else to the render. Run sends the model three things: your picture, the preview, and one sentence for each light that names where it sits in the frame. The model then lights the original picture itself, with the shadows, highlights and reflections the preview only sketches, and the picture you started from stays on the board as it was.
Two models for a picture
We tested before we chose: nine models over two rounds, 126 renders, every model in a round given the same photos and lights. The models built only for relighting came last. One rebuilt the faces and backdrops it was given, and another takes four fixed directions, so it cannot follow a light you drag. General image editors given the preview did best, and the card renders on two of them.
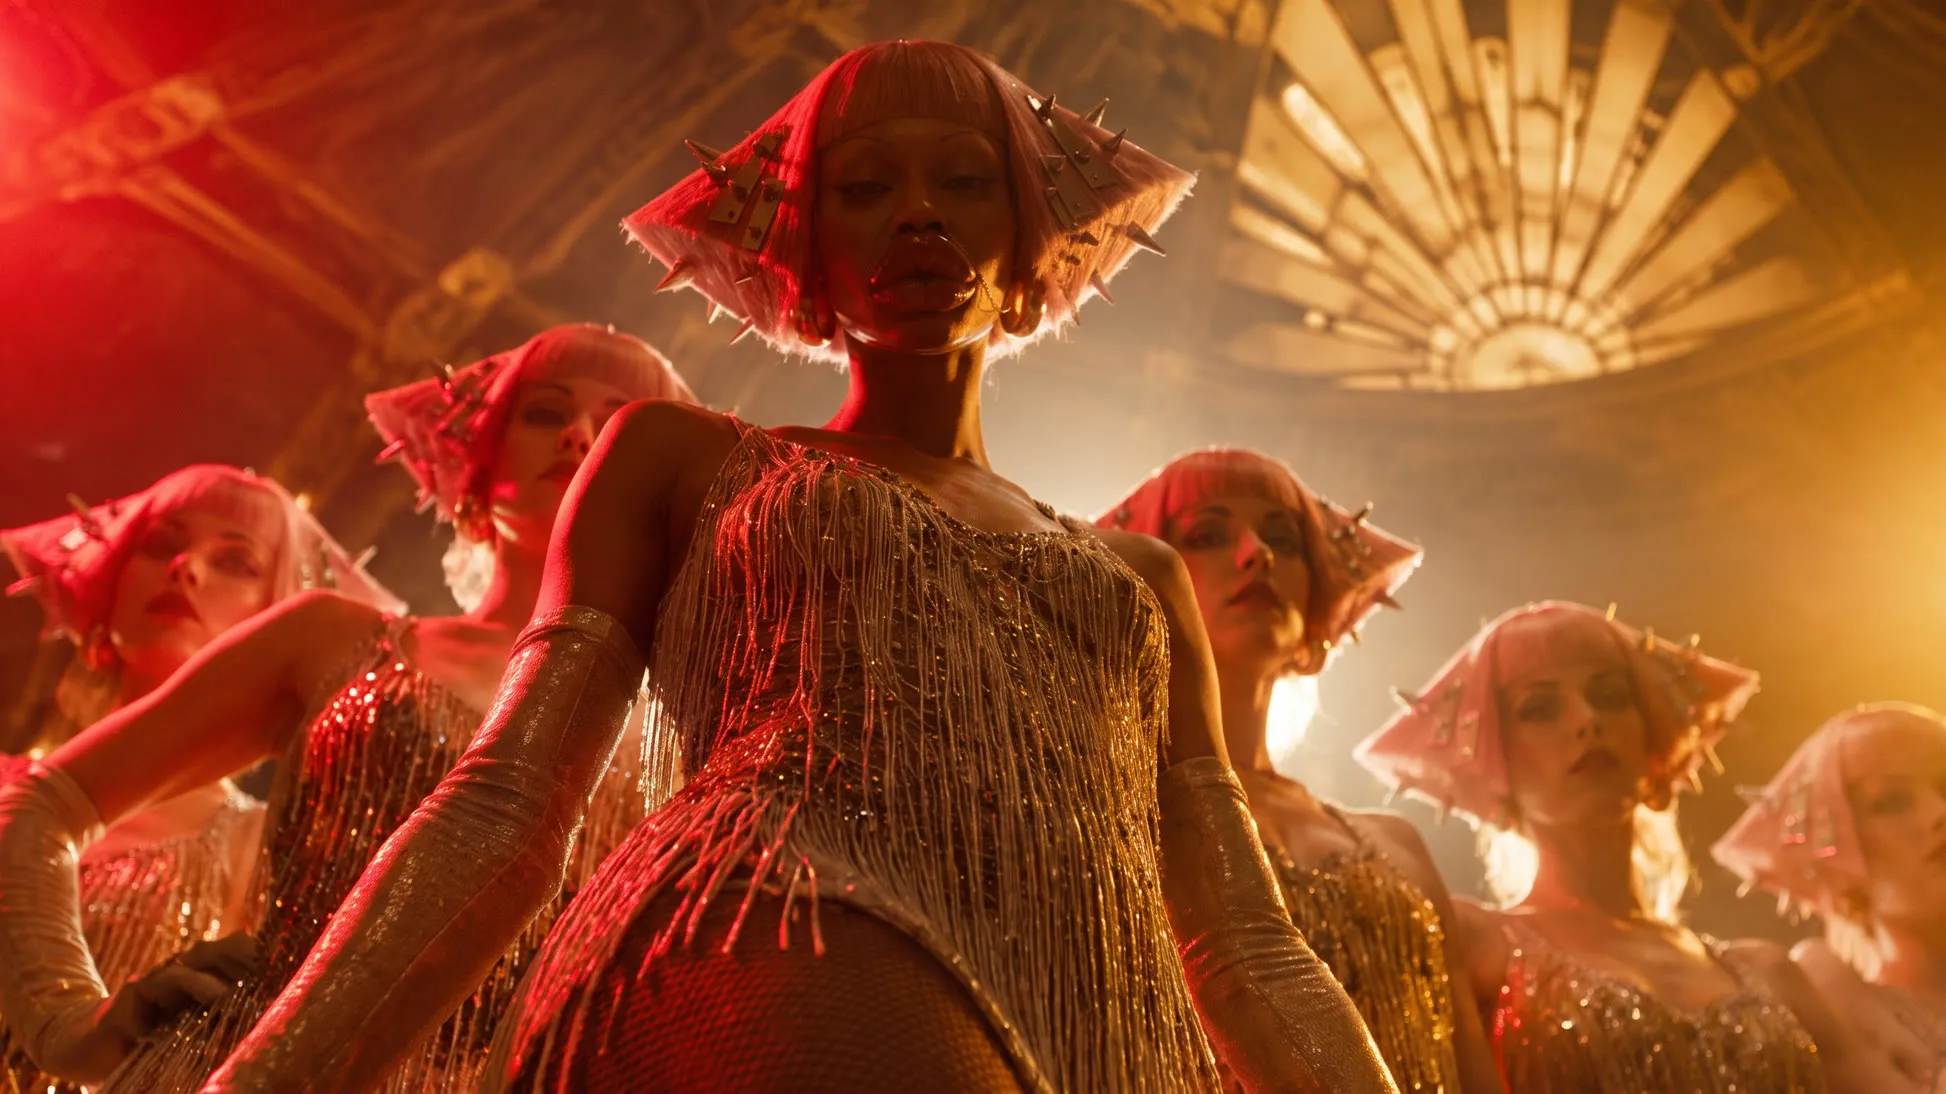
GPT Image 2.5 is the default and the quicker of the two. It stays close to the picture you started with, and it tends to hold a light back, so a soft or faint light can come out quieter than the preview. Nano Banana Pro leans the other way: it commits to the light, and it is the more dramatic of the two. On the dancers it turned an even stage wash into a red key and a gold backlight, with haze hanging between them. Switch to it on the model pill when a scene should change its mood.
Relighting a clip
Drop a clip on the card and the lights work the same way, on the frame the clip is paused on. The render runs through a pipeline of our own around H3 Max Relight, MiniMax's model for relighting video. H3 takes no words. Its only instruction is a picture of a lit sphere, so Relight draws that sphere from your lights, each one placed by its direction from the subject and drawn with its colour, brightness and softness, following MiniMax's recipe for it. The lights you dragged on the frame become the picture H3 reads.
The clip is prepared in your browser before it goes. Relight cuts the part you picked, up to 14 seconds, sets it to 24 frames a second, turns HDR footage from a phone into standard video, and holds the last frame just long enough that H3's own trimming keeps every frame of your part. When the take comes back it is cut to those exact frames and the clip's own sound is laid back on, so the part you picked lands on the board frame for frame, in the new light.
The first frame of a film
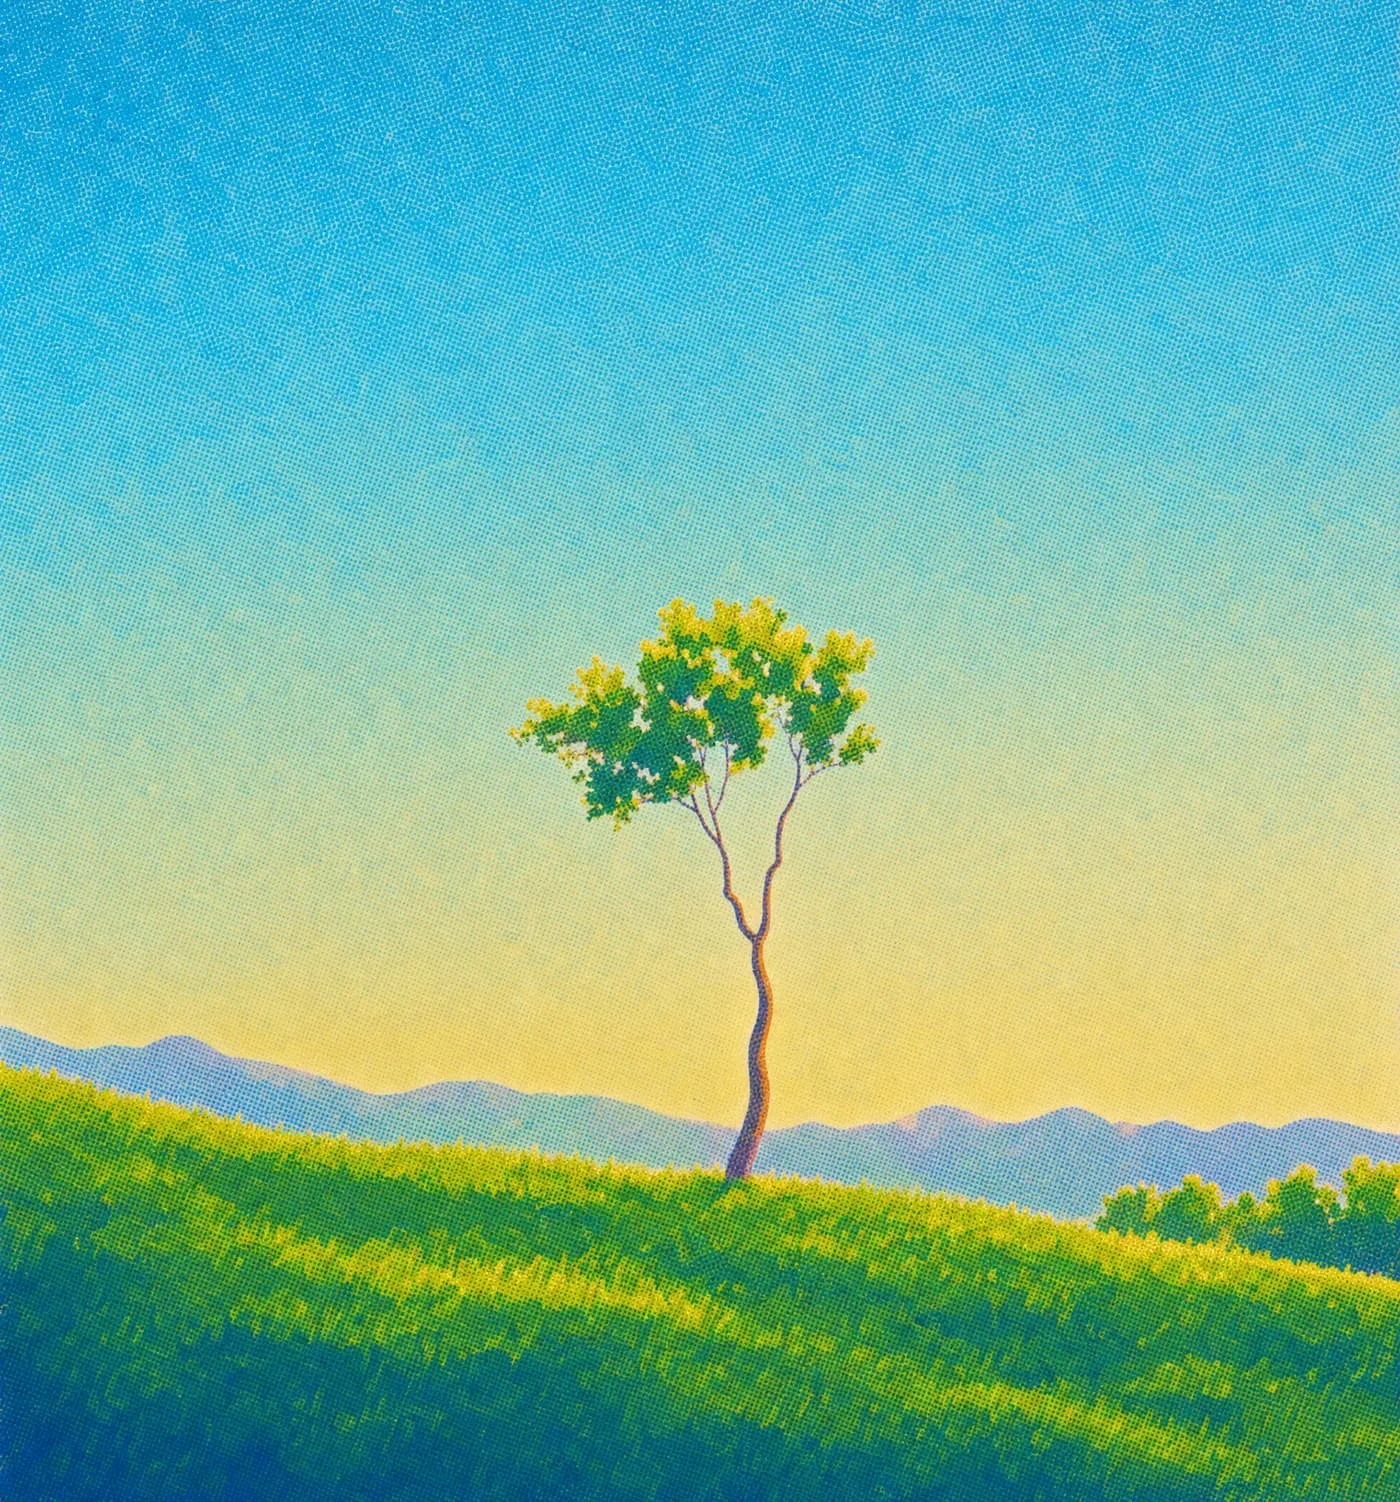
A relit picture also makes a strong first frame. The clip at the top of this article starts on the Nano Banana Pro render of the dancers, handed to Seedance 2.5 as its first frame with a prompt that asks for the routine and for the stage light to roll from a warm key into a cooler rim. Light is quicker and cheaper to settle on a still than on a clip, so the look of the shot was decided before any credits went to motion.
Sources and methodology
Every picture of the character was made in Plnty on one board on 8 and 9 October 2026. The character sheet came from two image-gen edits on GPT Image 2, the scenes from two Time Machine runs on GPT Image 2.5, and the relights from Relight, on GPT Image 2.5 for the dressing room and the portrait in the film, and on Nano Banana Pro for the dancers. The clip at the top is Seedance 2.5 from the relit dancers. The park clip is a Relight run on H3 Max Relight at 768p from 8 October 2026, on a clip also made in Plnty. In the two comparisons each render is fitted to its source's frame so the slider lines them up, a change of shape under 1% for the dancers and a crop under 3% for the dressing room, which the model had framed slightly closer. The test figures come from Plnty's relight tests of 6 and 7 October 2026, one run per setup, scored by eye. The live preview shades the dancers with a depth map made by the same depth model the card runs in your browser.
About the author

Try one light on a picture you like
Drop a picture you already have on the Relight card, drag a single light from one edge to the other and watch which side falls into shadow. When the preview looks right, press Run.